I made this tiny bag to keep my earplugs in, to stop them getting separated or dirty.
It's such a simple pattern, that I wasn't sure if it's worthwhile writing it down, but decided that it could help beginners if I did. So, here it is.

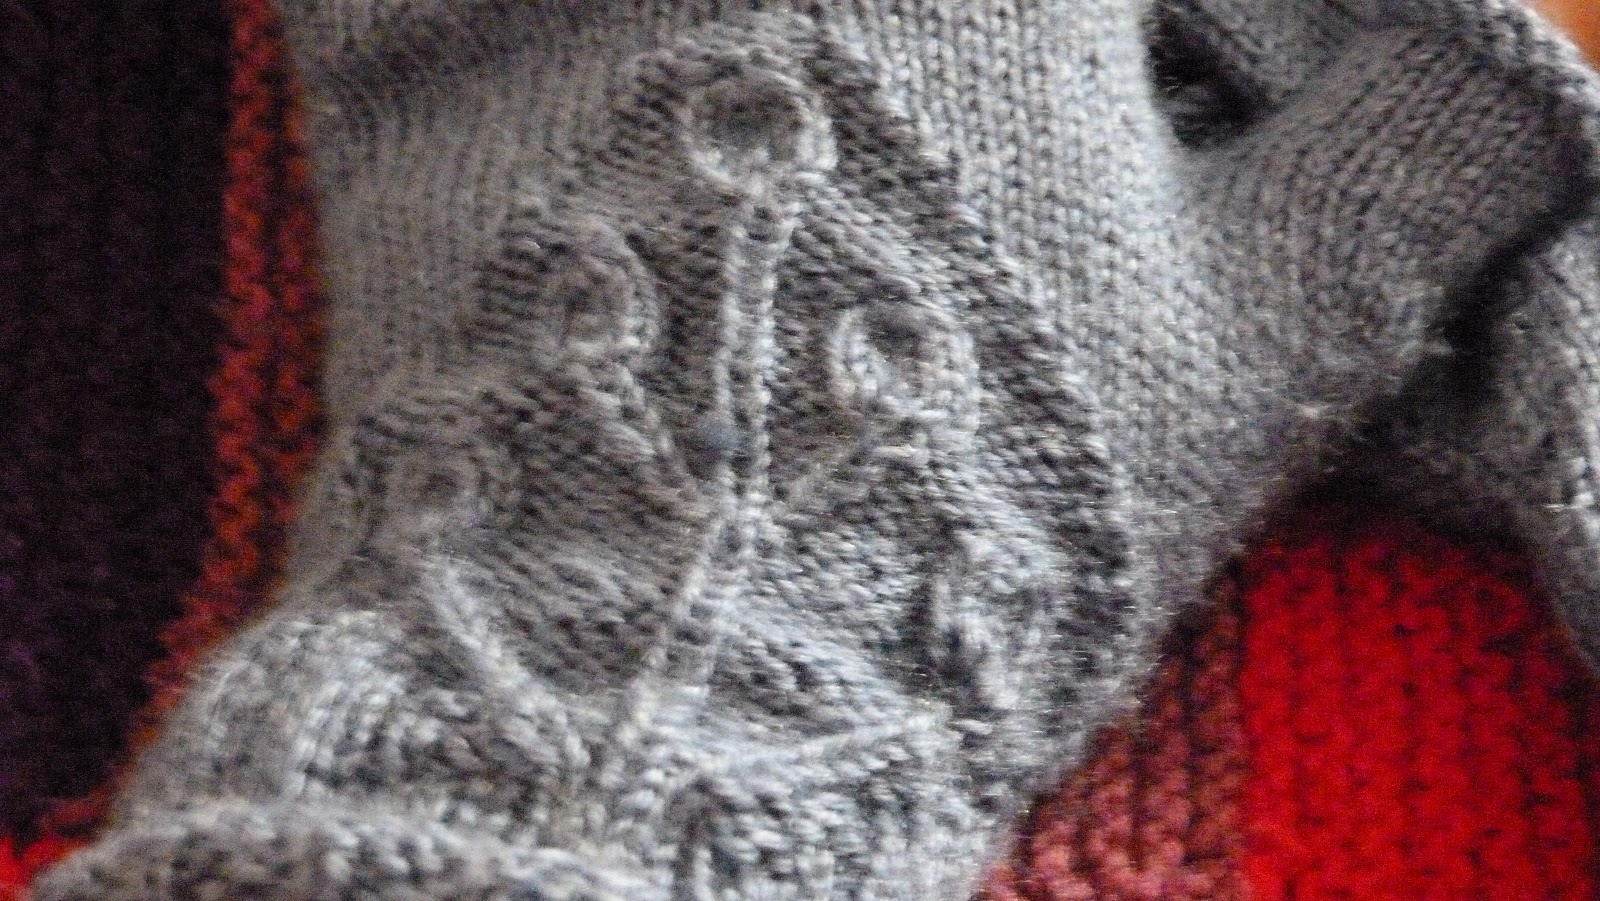
I "made" the yarn, by simply tying small pieces of other yarn together. The finishing result is bumpy, from the knots, so unsuitable for something like socks, where the knots would be felt, but perfectly good for something like this. I love the scrappy look it gives but, of course, you can use whatever yarn you want, with an appropriate hook size.
Crochet skills needed:
To be able to single crochet (I use american terms) and chain.
You will need:
- Yarn (I used dk/worsted weight)
- A crochet hook (I used a 4mm one, but just use whatever is suggested for the yarn)
- A button (The size doesn't matter within reason, as it's easy to adjust the size of the buttonhole)
Start by making a slip knot, then chain until it's the width you want your finished product, then chain one more. I chained 9.
Now, single crochet in the second chain from the hook, then continue single crocheting in every chain along that side.
When you reach the end, continue around it, and single crochet in every loop on the opposite side.
Continue single crocheting in every loop until your bag is the desired length. No need to worry about rows, stitch counts, or shaping; I told you it was easy!
When your work has reached the desired length (mine is 2 inches long), crochet until you're at a side of your work, with your current stitch directly over one of the bottom corners.
Chain one, turn the work, and crochet back along the just-worked stitches, until you reach the opposite corner.
Continue repeating like this, until the flap has almost reached the desired length. Now you're going to do the buttonhole.
Take your button, and hold it infront of your work. Count how many stitches are needed to make the width of the button (erring on the smaller side). For me it was 3.
Count the amount of stitches you are working on the flap, subtract the number from the button, then halve it. I was working 7 stitches, so I subtracted 3, and halved it to 2.
Chain one, turn, and single crochet that number of stitches. Now, chain for the amount of stitches appropriate for the button (making sure not to chain too tightly). Skip the same amount of stitches as you chained, and continue single crocheting to the other side.
Cut your wool and cast off. Now all you have to do is sew on the button and you're done. Congratulations!
Feel free to ask any questions, and I'd be happy to hear any feedback about the pattern.
Happy crafting :)